Gaines Mill
Here is a game we've played recently from the Fire'nFury eastern scenarios book. Lee had just taken command of the Confederate forces defending Richmond from McLellan's army during the Peninsular campaign.
Lee had ordered Jackson to join him with the valley army and with superior local force his plan was to pounce on the isolated Union Corps of Porter. At Beaver Dam Creek on the previous day Confederate General A.P.Hill attacked the well positioned Yankees without waiting for support and copped a bloody nose for his troubles. Porter withdrew to another defensive position near Gaines Mill, with orders to hold up the Rebs long enough for his trains to get away to the safety of the main body of McLellan's army.


A.P.Hill's division wastes no time moving to the attack. The scenario design encourages this bold strategy by giving 2 victory points at the end of each C.S. turn to the Confederates when they have an unspent brigade in the fieldworks, and 2 points to the Union when they don't. This particular A.P.Hill sends most of his men to the left and the weakest part of the works.

The Rebs assault begins with a success as (way off in the background) one brigade drives back Warren's brigade (zoauves) and breaks through onto another sending it too away for the moment. Archer's brigade seems to prefer to face the Union troops behind the works rather than to sit on the hill and face the Union artillery. This plucky little brigade spent the whole game on that very spot. On this side of the field the artillery advantage was overwhelmingly with the Union, and here you can see the first of several Rebel batteries to learn that painful lesson. In the centre both sides get to beginning the days grizzly work in earnest.

Getting to grips with the foe. Field and Garland charge the works and are repulsed. From behind tree and boulder they exchanged musketry fire with the enemy. Beyond them their more exposed friends are falling fast under Union artillery fire.
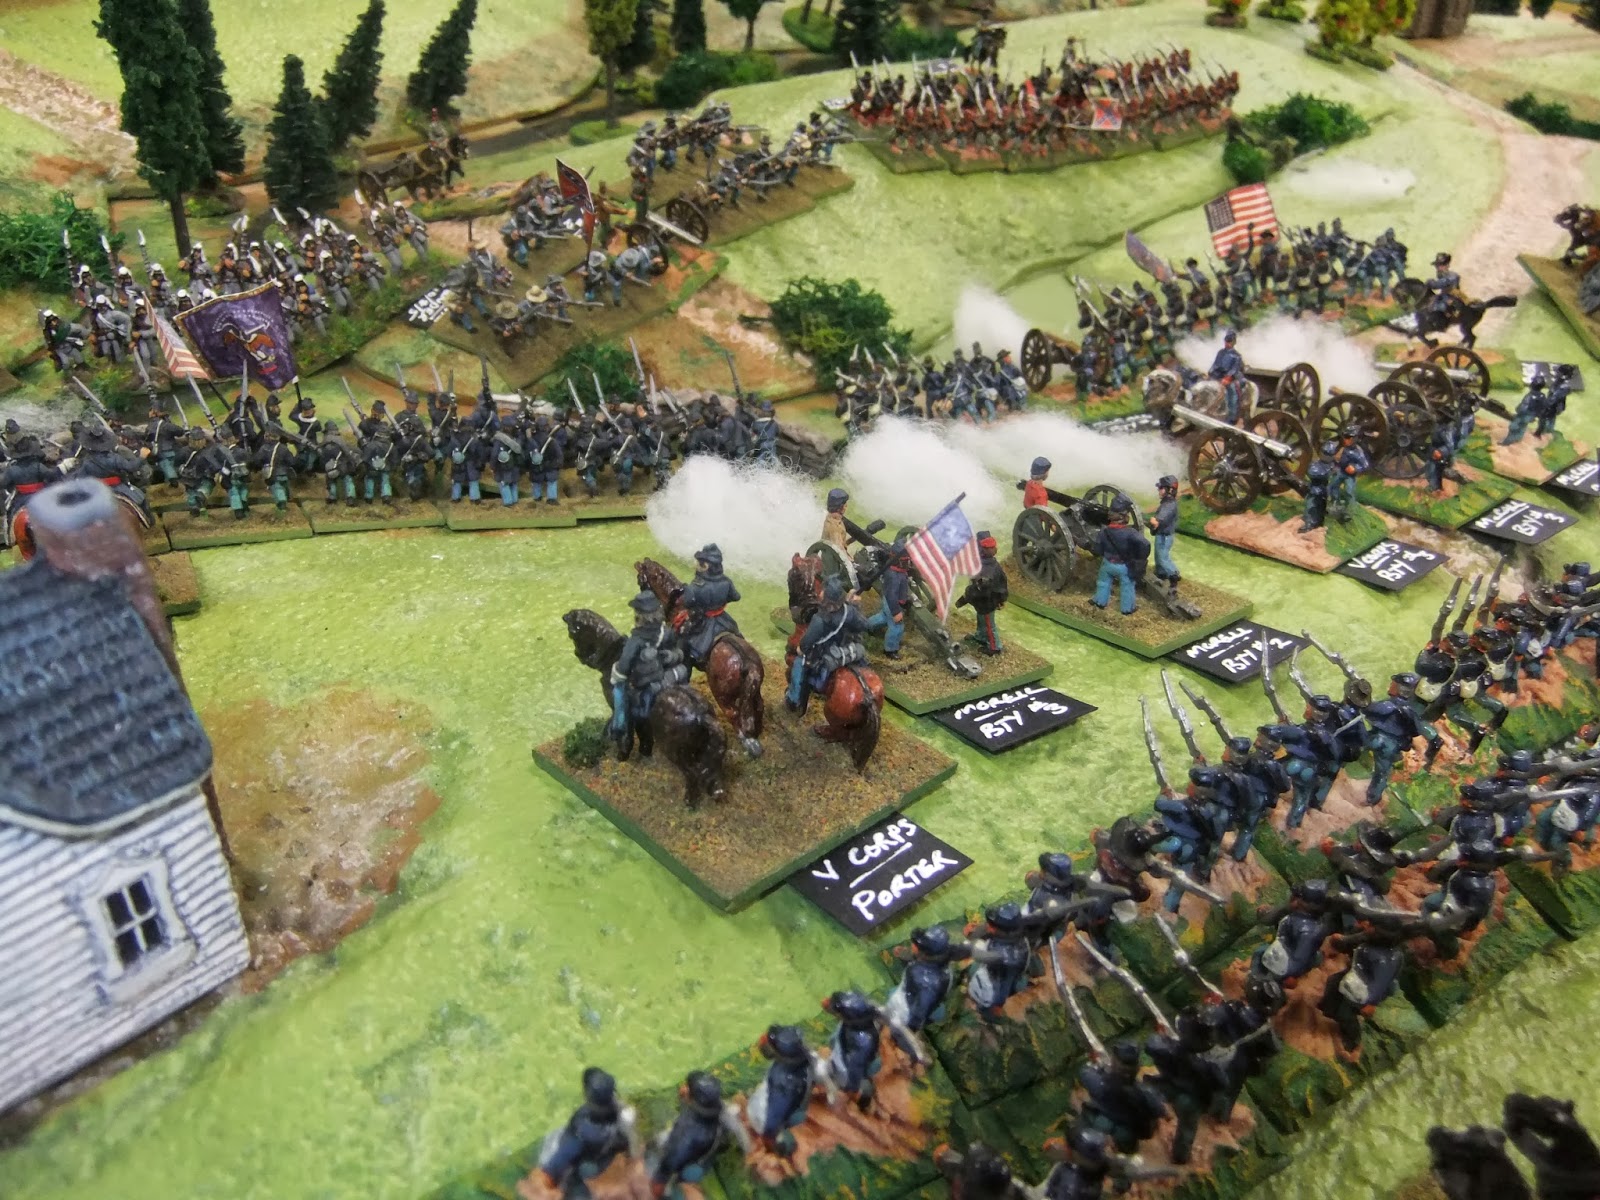
Massed Yankee guns pouring it on.

Off to the right you can see the Confederated brigade which had earlier sent two Union brigades tumbling backward, thus exposing the flank of the position behind the stream. Here Porter is working to recover from this. Note the two stand US cavalry brigade centre of picture. "What can you do with such a tiny formation?", was a question I can recall being asked at the start of the battle. Yes, what indeed?

While A.P.Hill's division is wearing itself down against a wall of lead and iron, other Confederate forces have been moving up. On the right Pete Longstreet is in place to test the strength of these Yankee fieldworks frontally. Ewell has been ordered to support A.P.Hill in the centre. On the left D.H.Hill is now released (a scenario mechanism) to add to the pressure on the hard-pressed Syke's division. The lack of Union artillery on the near ridge is due to their being low on ammunition, and having to retreat to re-supply, which happens when a 10 is rolled when firing. General Porter and his dreaded "Golden Die of Death" had managed more than his fair share of 9's and 10's thus far in the game, and his gloating could be heard as far away as Alabama.

View from Jackson's position at the other end of the field. Top centre of this picture you can see the Rebel brigade of Gregg, after causing Warren's zuoaves to quit the field he is now looking to repeat it on another.

Meanwhile them damn yankee guns are back with fresh stocks of ammo. Archer, down to six stands now and thus worn, tenaciously continues to occupy the enormous brigade opposed to him.

Historically this cav unit was under the command of a man named Cooke, but henceforth he was referred to as Cpt. W. Parmenter. "A hero who sneezed, abruptly seized retreat and reversed it to victory!" Wilton's glorious exploit sent the valiant Gregg off and continued on to the rebel guns beyond only to be blasted from the battlefield - and into local wargaming legend. This cost the yankee side 4 victory points but all agreed, North and South, that it was well worth it.

"His medal of honour pleased and thrilled his proud little family group"

Meanwhile Longstreet's division had been pressing it's assault on the fieldworks and although the first wave had been repulsed, a second succeeded and a foothold was gained - along with the first objective victory points for the Southerners. This is on turn 6.


Looking along the field form the breach.

General Longstreet pushes fresh brigades across the stream,

and seeing the banners of the Confederacy among the Yankees off to their right...

like the sound of ten thousand wildcats,

the rebel yell rises in crescendo all along the battle line!

Longstreet's view, Confederate right.

Put the trees back, add more cotton wool, take another picture.

"Hold, boys!"

After charging pretty much all along the line, the Union centre folded. Rebel breakthrough charges sent supporting Union brigades and batteries flying.

Longstreet's brigades getting into the rear of the Union left.

Yankees shunted back beyond the ridge.
Victory depended on achieving two objectives. One was to clear the fieldworks of all unspent Union brigades by the end of the Union 6.30 turn. Whilst of their final charges were highly successful, one critical charge failed, which left a Union brigade still in the fieldworks. Thus, that particular condition went to the bluecoats. The other condition was to score more victory points than the opponent. The scenario is designed for two more turns beyond what we ended up having time for, but at the finish the North had about 35% more than the South. It could be argued that the Southerners might have been able to overtake on points over the remaining turns and claim a draw, or maybe they wouldn't. If not that would make it a Union victory. We'll never know.
In the end it was an intensely hard fought encounter with successes and failures evenly shared around, laughs and frowns, cursing and gloating. What more could you ask for of a game?
Thanks to the players for participating.
Next time somebody else can umpire!


